5.15.2013

Favorite Spots Around Town: Fallas Paredes

I stumbled upon this store in high school and have shopped there ever since!

If you are on the lookout for trendy items on a budget, you should look here first!

I mean, how many stores do you go into that have a sign that says $1.99 and has clothes hanging on the rack below it?  I have gotten a dress here for $1 before!  

This is also a great place to get work out clothes, sweats, and leggings if you are looking to keep your price point low.  They also have a decent selection of plain colored shirts for around $3.

Of course, it is hit-or-miss, but most places are with good deals.  I just pop in here when I am nearby and have a few minutes to spare.

I got some killer cute things there, so tomorrow I will have a feature post on the "women's" things I got.  But here is a peek at what other goodies there are!


I even saw decorative pillows starting at $3.99!  Now that is a steal!

These colored/printed skinnies for little girls are too cute for words.  And for $7.99/piece, I wouldn't feel bad about buying a pair.  It really beats these J.Crew Girl's colored and printed pants starting at $42+ (on clearance) for sure!

They also have a huge baby/infant and men's section as well as a decent selection of plus-sizes!  Stay tuned for my finds for tomorrow.  They are the purchases I've been most excited about yet!  

This store is located on Mesa Dr. and University, behind the McDonald's.  There is another location on Stapley and Southern, in the same shopping center as the Pro Ranch Market.  However, I prefer the one on Mesa Dr. and University.  Happy shopping on a budget!  

5.14.2013

Spreading the Love: Camille at Friday We're in Love

I love Camille over at Friday We're in Love!  If you don't already follow her blog, then please do!  She and her husband blog to inspire others to date.  If you are single, they want to help you come up with fun and innovative ideas.  And if you are married, they want to encourage you by going on exciting dates to keep your love and marriage alive and well.  They have a ton of dating ideas, some of which are extremely budget friendly or even free.

She just launched a new series where every 14th of the month, she features a blogger or two that she loves!  It is called, Spreading the Love with Friday We're in Love.  Her goal is to always tell people the positive things she notices, even strangers.  Sometimes it can be uncomfortable or you feel silly, but it can really mean a lot to someone!  She invited other bloggers to join in as well.

I decided to feature Camille this month!  I have to tell you, she is as amazing as she sounds!  I remember knowing who she was at church, years ago.  She was on-the-ball, smart, and dressed to kill.  Little did I really know how much depth there really was to her and what a great friend she is to all those around her!

I have to give her a ton of credit for encouraging me in my blogging pursuits.  She hosted a party, and made a comment about one blog post she really liked in front of everyone.  She sold them on that post!  And although I felt slightly embarrassed at the attention, I mostly felt flattered that she would be so vocal about it.  Because when Camille has an opinion on something, people listen!  When I told her my idea for this blog, she told me that I should definitely start it up.  She has been a great source of advice, both personally and for blogging.

So thanks Camille, for being inspiring and for starting up this wonderful new series!

This is me and Camille at the Easter Pageant with our husbands in 2012
Landon is in my belly, that is why I look ginormous!
P.S.
You can see a guest post I did on her blog long ago, before this blog was ever even a twinkle in my eye.  Bonus: it's an idea for a FREE date!

5.13.2013

Secret Eyelashes

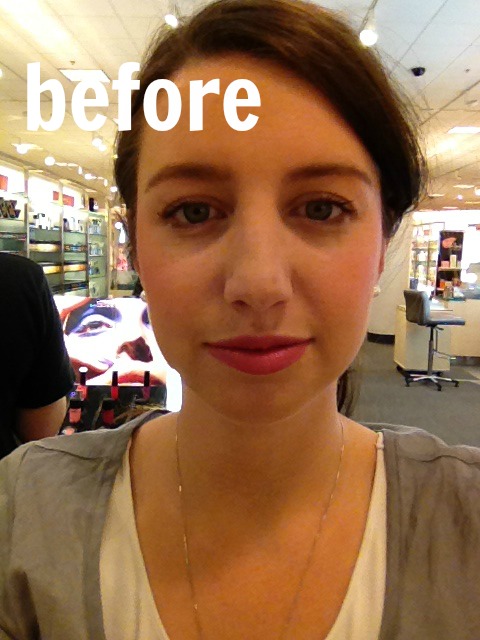
So I have fairly long eyelashes.  But they aren't super thick or dark, so for me, mascara is necessary.


Which meant I was super jealous of the luscious lashes that eyelash extensions gave a lot of women I saw around town.  But let's be honest...my husband wouldn't be thrilled if I thought that spending $30+ a month on my eyelashes was a priority.

One day, my cousin's adorable wife Stephanie, invited me to go with her to the MAC counter in Nordstrom.  It changed my life (Okay, slightly dramatic.  But it was indeed a wonderful secret she let me in on!).

That secret, I will now share with you...

False Eyelashes.


Don't worry!  I had nightmares of ripping out all my own lashes or never being able to get them on the right way.  And while I am still learning things as I go, I can assure you, that with a little help from the MAC people, and giving it a try one or two times, you will be well on your way to beautiful lashes on a dime!  Of course, you have to reapply them every day, they aren't permanent like extensions.  But saving this much money and still looking this good, is way worth it to me!  Once you have practiced, it will be a breeze applying them.

Stephanie is loyal to the Nordstrom Mac counter, she has always had better experiences going there, because she thinks that the MAC training combined with the Nordstrom training gives the best possible customer service.  So that's what I do.  You can go elsewhere if you feel so inclined!

They are great there, at the MAC counter!  They will help you pick out the lashes you want (I love the #7 lashes, and those are what I would recommend for first timers--more natural looking, but still make a statement).  They trim them to fit your eye, and will even put them on for you.

The lashes themselves run around $15, but the first time you go, you have to buy the glue.  The glue is one of the biggest secrets.  It starts out white, but dries clear.  The glue is amazing!  It is $12, but will last forever.  Don't scrimp and buy it elsewhere, or you won't enjoy putting these lashes on and wearing them.  At the MAC counter, they tell you that these lashes will last you 5-6 wears if you take good care of them.  I will tell you they will last you 3ish months, wearing them everyday, if you take good care of them!

So the first time you go, you will spend a little less than $30, but after that, you won't need to buy glue.  So $15 every few months for amazing lashes is awesome and way cheaper than extensions!  Here is another secret...my other cousin's wife, Skye, professionally applies eyelash extensions for other people.  But she wears MAC false eyelashes!  That is how great they are!

Tips for wearing these lashes:

- I put one very light coat of mascara on BEFORE applying the lashes (not after, the lashes won't last long if you put mascara on them) so that my natural lash won't be noticeable since they are light colored.

- If you don't have them trimmed by a MAC person, or they poke you in the inner corner of your eye, trim them down a little more.  I like it when my lashes only cover a little more than 3/4 length of my eye.  Your natural lashes will continue to the inner corner and if you have a light coat of mascara on already, it will look great and they will be much more comfortable!

- The glue starts out white and dries clear.  Apply a thin layer of glue (they should show you this at the MAC counter--I use a toothpick to do it) and let it air dry for a minute or so.  It will turn a slight yellow color, and that is when you should apply it to your eye.  It will be a  little more tacky and stay when applied.

- As long as you see "white" where the glue is, you can continue moving and fixing the lashes in place.  Once the white is gone, the glue has dried and you will probably have to re-apply.

- If you take Sunday afternoon naps and tend to sleep on half of your face (like I do), take the lashes off.  So you don't smoosh them into a weird shape.  It was a sad day when this happened to me!

- When taking the lashes off, they can peel right off.  It won't rip your natural lashes out, I PROMISE!  There is usually a thin layer of glue stuck to the lashes, resembling that of dried Elmer's glue.  Carefully pull it off the best you can, to keep your lashes in tip-top shape for a long while!

Hope this inspires someone to give them a try!  They really are so fun to have and use.  I feel pretty with nothing more than these on and some lip gloss, even at the grocery store with a baby on my hip.

5.07.2013

Mother's Day Idea: Instagram Magnets

So, I gave my mom her mother's day gift early, so that I could post this idea for you all to use if you want!

I know it isn't an extremely unique DIY, I've seen it floating around blogland/pinterest.  But Instagram magnets are seriously easy, fun, cute, and most anyone (especially a mom!) will love them!

use them to make a collage...

...they can help you hang up fun things on your fridge...


...or just be there to give you reminders of happy memories all on their own!

I used this tutorial from Megan at And Here's to You, Mrs. Robinson.  I didn't do everything exactly as she did, but pretty close.  I left more white space around each picture, like she wished she had done.  And I didn't use a paper cutter, just scissors to cut the pictures out, because I didn't have a paper cutter handy.  I loved her instructions on making and printing out the collage, they worked great for me!  

While working on these, I made the mistake of stacking them on top of each other.  The magnets sometimes left a little mark on the picture they were sitting on (major bummer, but they still were fine enough to give her!), so that is why, when I gifted them to my mom, I had torn paper in between.  Plus it kinda looked cute that way!


Purchases
-          small tiles at Home Depot for under $3
-          magnets at Home Depot (and then got smart and ordered a bigger amount off of Amazon for around $5)
-          created the collage on picmonkey (free)
-          printed the collage at Costco (less than $2)
-          mod podge and brushes, already owned
-          glue gun to glue on magents, already owned

Good luck!   It was too hard to narrow down a few, so I made my mom a ton.  She can either rotate them out and change things up occasionally—or just have a fun collage on her fridge, even if she doesn’t need to hang anything up. 

I am working on printing off a collage to make myself a few.  This is a project that comes together quickly, once the collage is printed.  My favorite kind! 

These could also be a fun gift for a dad (either your own dad or husband) if he has a magnetized filing cabinet or something where he works.  I am trying to think of other ways to "back" the tiles (like a heavy duty thumb tack?) so they can be used on other surfaces.  Any ideas?!

5.06.2013

Armoire turned Pantry DIY

Well I live in a small house, so you have to get creative with how you use your space.  My friend Julianne told me about her garage sale, and so I hopped on over and got this armoire for $10!


After getting it home, I decided to turn it into a pantry (of sorts) for my kitchen.  I love the concept of open-shelving, but when you don't have double-paned windows, dust is an enemy you are constantly fighting.  No one wants to walk in and see dust all over my food and dishes that they are about to use.  I love the way it turned out!


It had some really cute detailing on it already.  The hardest part was just sanding it down.

Put a few coats of paint on.  Sanded the edges for a more chippy look and to show off the fun details.  (Didn't even glaze this one, since some of the underlying black paint showed through and gave it a glazed look).

Brett (my handyman husband) took a drawer out of the lower half of the top segment, and created a second shelf there--I forgot to take a picture of that before and after).

And of course, I use the top to shelve some of my pretty platters, fruits, and vegetables.  It adds a nice touch and makes it look more like it belongs in the kitchen.

I hope that the next place I live will have a pantry.  If not, I have this!  If there is a pantry, I can use this in a bedroom or craft room for other storage options.  Really, it was a good buy!

Since I have been shopping at WinCo now, and buy more things from their bulk section, I invested in some heavy-duty, plastic canisters from Ikea.  At $3.99/piece for the larger size, the price really can't be beat.  They are perfect for storing pasta, dried beans, whole wheat flour, etc. in my new "pantry"!  The bottom 2 drawers hold tupperware, bibs, dish cloths, dish towels, etc.  I am thinking about using all of my glass baby food containers and turning them into spice jars.  Maybe Brett could install a few spice racks on the inside of the doors on top?   Then I can buy my spices in bulk too.


What do you think of my armoire-turned-pantry?  Have you done anything creative with a piece of furniture, and used it for purposes it wasn't necessarily intended for?

5.04.2013

A Few Links for the Weekend...

I love these two, and love the weekends when I get to spend lots of quality time with them!

A few links to check out over the weekend...


and if you go to the Cinco de Mayo community event and there are carnival games, don't blow your life savings only to win a giant banana!

this is a DIY I most definitely want to try soon!  Maybe I can try to find something at Goodwill this Saturday on the 50% off day?

So excited for the AZ Blogger Meet Up this weekend!

Stay tuned for next week...great ideas for Mother's Day Gifts, DIY and more!


5.01.2013

Let's Celebrate: Cinco de Mayo

Here in the good Southwest, we take things like Cinco de Mayo quite seriously.  You see, it is a really good reason to eat delicious and authentic Mexican food, be surrounded by bright colors, and spend time with family.

Why not check out the history of Cinco de Mayo and plan a little celebration?

Here are a few ideas to get you started:

Use tissue paper for decor!  It is inexpensive, and really authentic for this sort of celebration...

These are all easy DIYs, and really add color to your fiesta as well.  


Another fun way to decorate is with the small succulents...

Of course, food is a very important aspect of a Cinco de Mayo celebration...

The food doesn't have to be a full-meal.  I love the idea of a salsa bar or just dessert.  We will probably get some carne asada meat from a local carniceria, and make black bean dip and cilantro lime rice.  Maybe even some mexican corn.  Mock fried ice cream is easy to make in advance--perfect for hosting!  Warm honey and cinnamon together and drizzle it on top for the perfect touch.  If you are hosting, to keep cost low, have everyone bring something!  Takes the stress off of you and your budget.

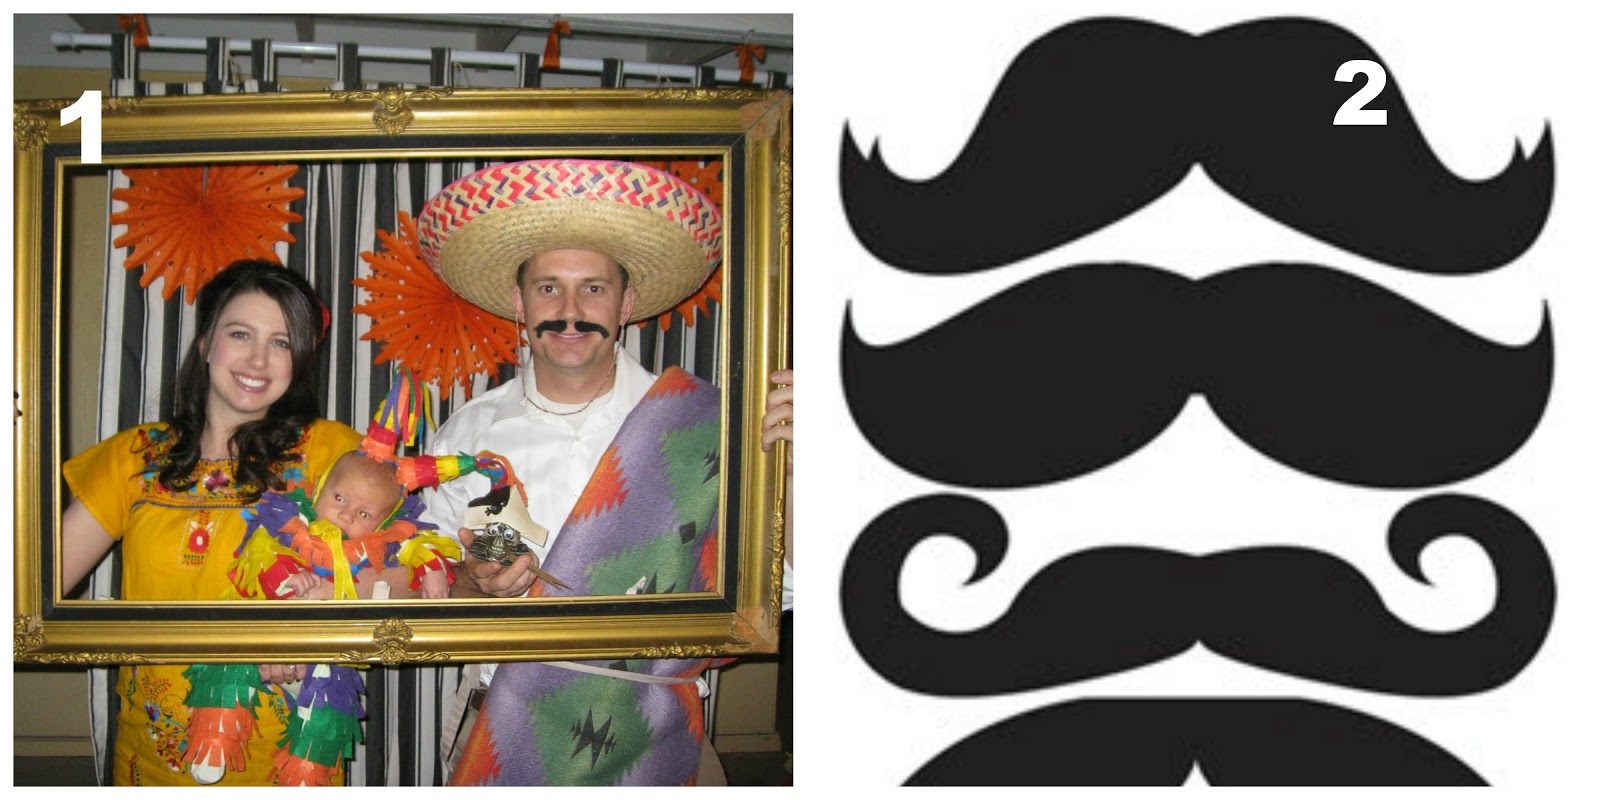
And of course, get-togethers are more fun with photos, and who doesn't like a few fun props?!

If you are looking for the perfect way to top off the day, try serving some horchata--a traditional Mexican rice drink.  Think rice pudding in liquid form, it is delicious!

I hope this gave you a few ideas on how to celebrate Cinco de Mayo this year, whether it be a big or small celebration.  Let me know how it goes!